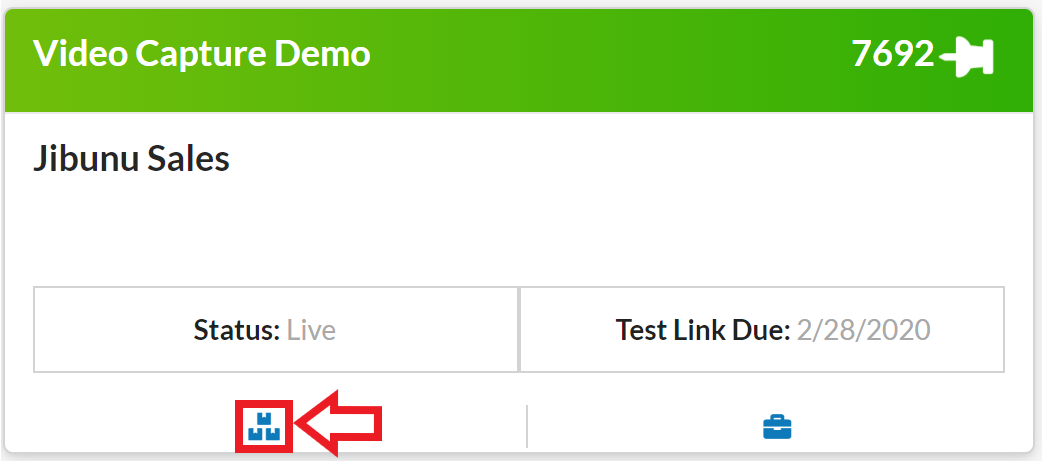
On the main project page, select the application manager.
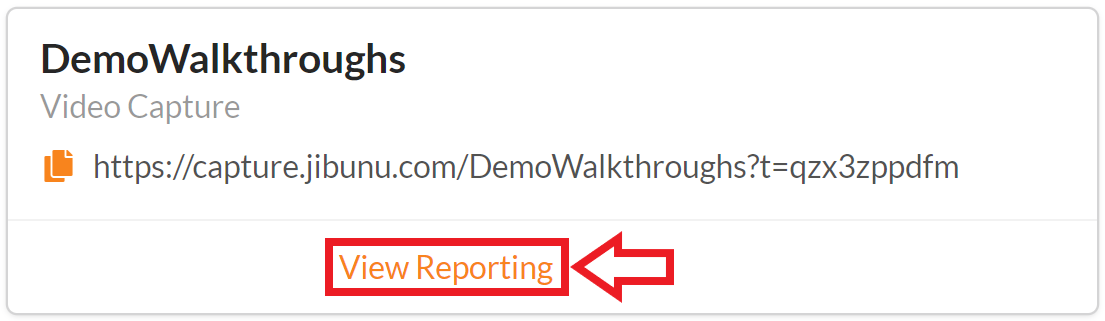
Once in the application, select the “View Reporting” link for the question you want to see the videos for.
Note: If there is more than one question where a respondent can provide a video response then there will be a view reporting option for each question on this page.
Once in Reporting you will see an overview with the counts for the number of videos.
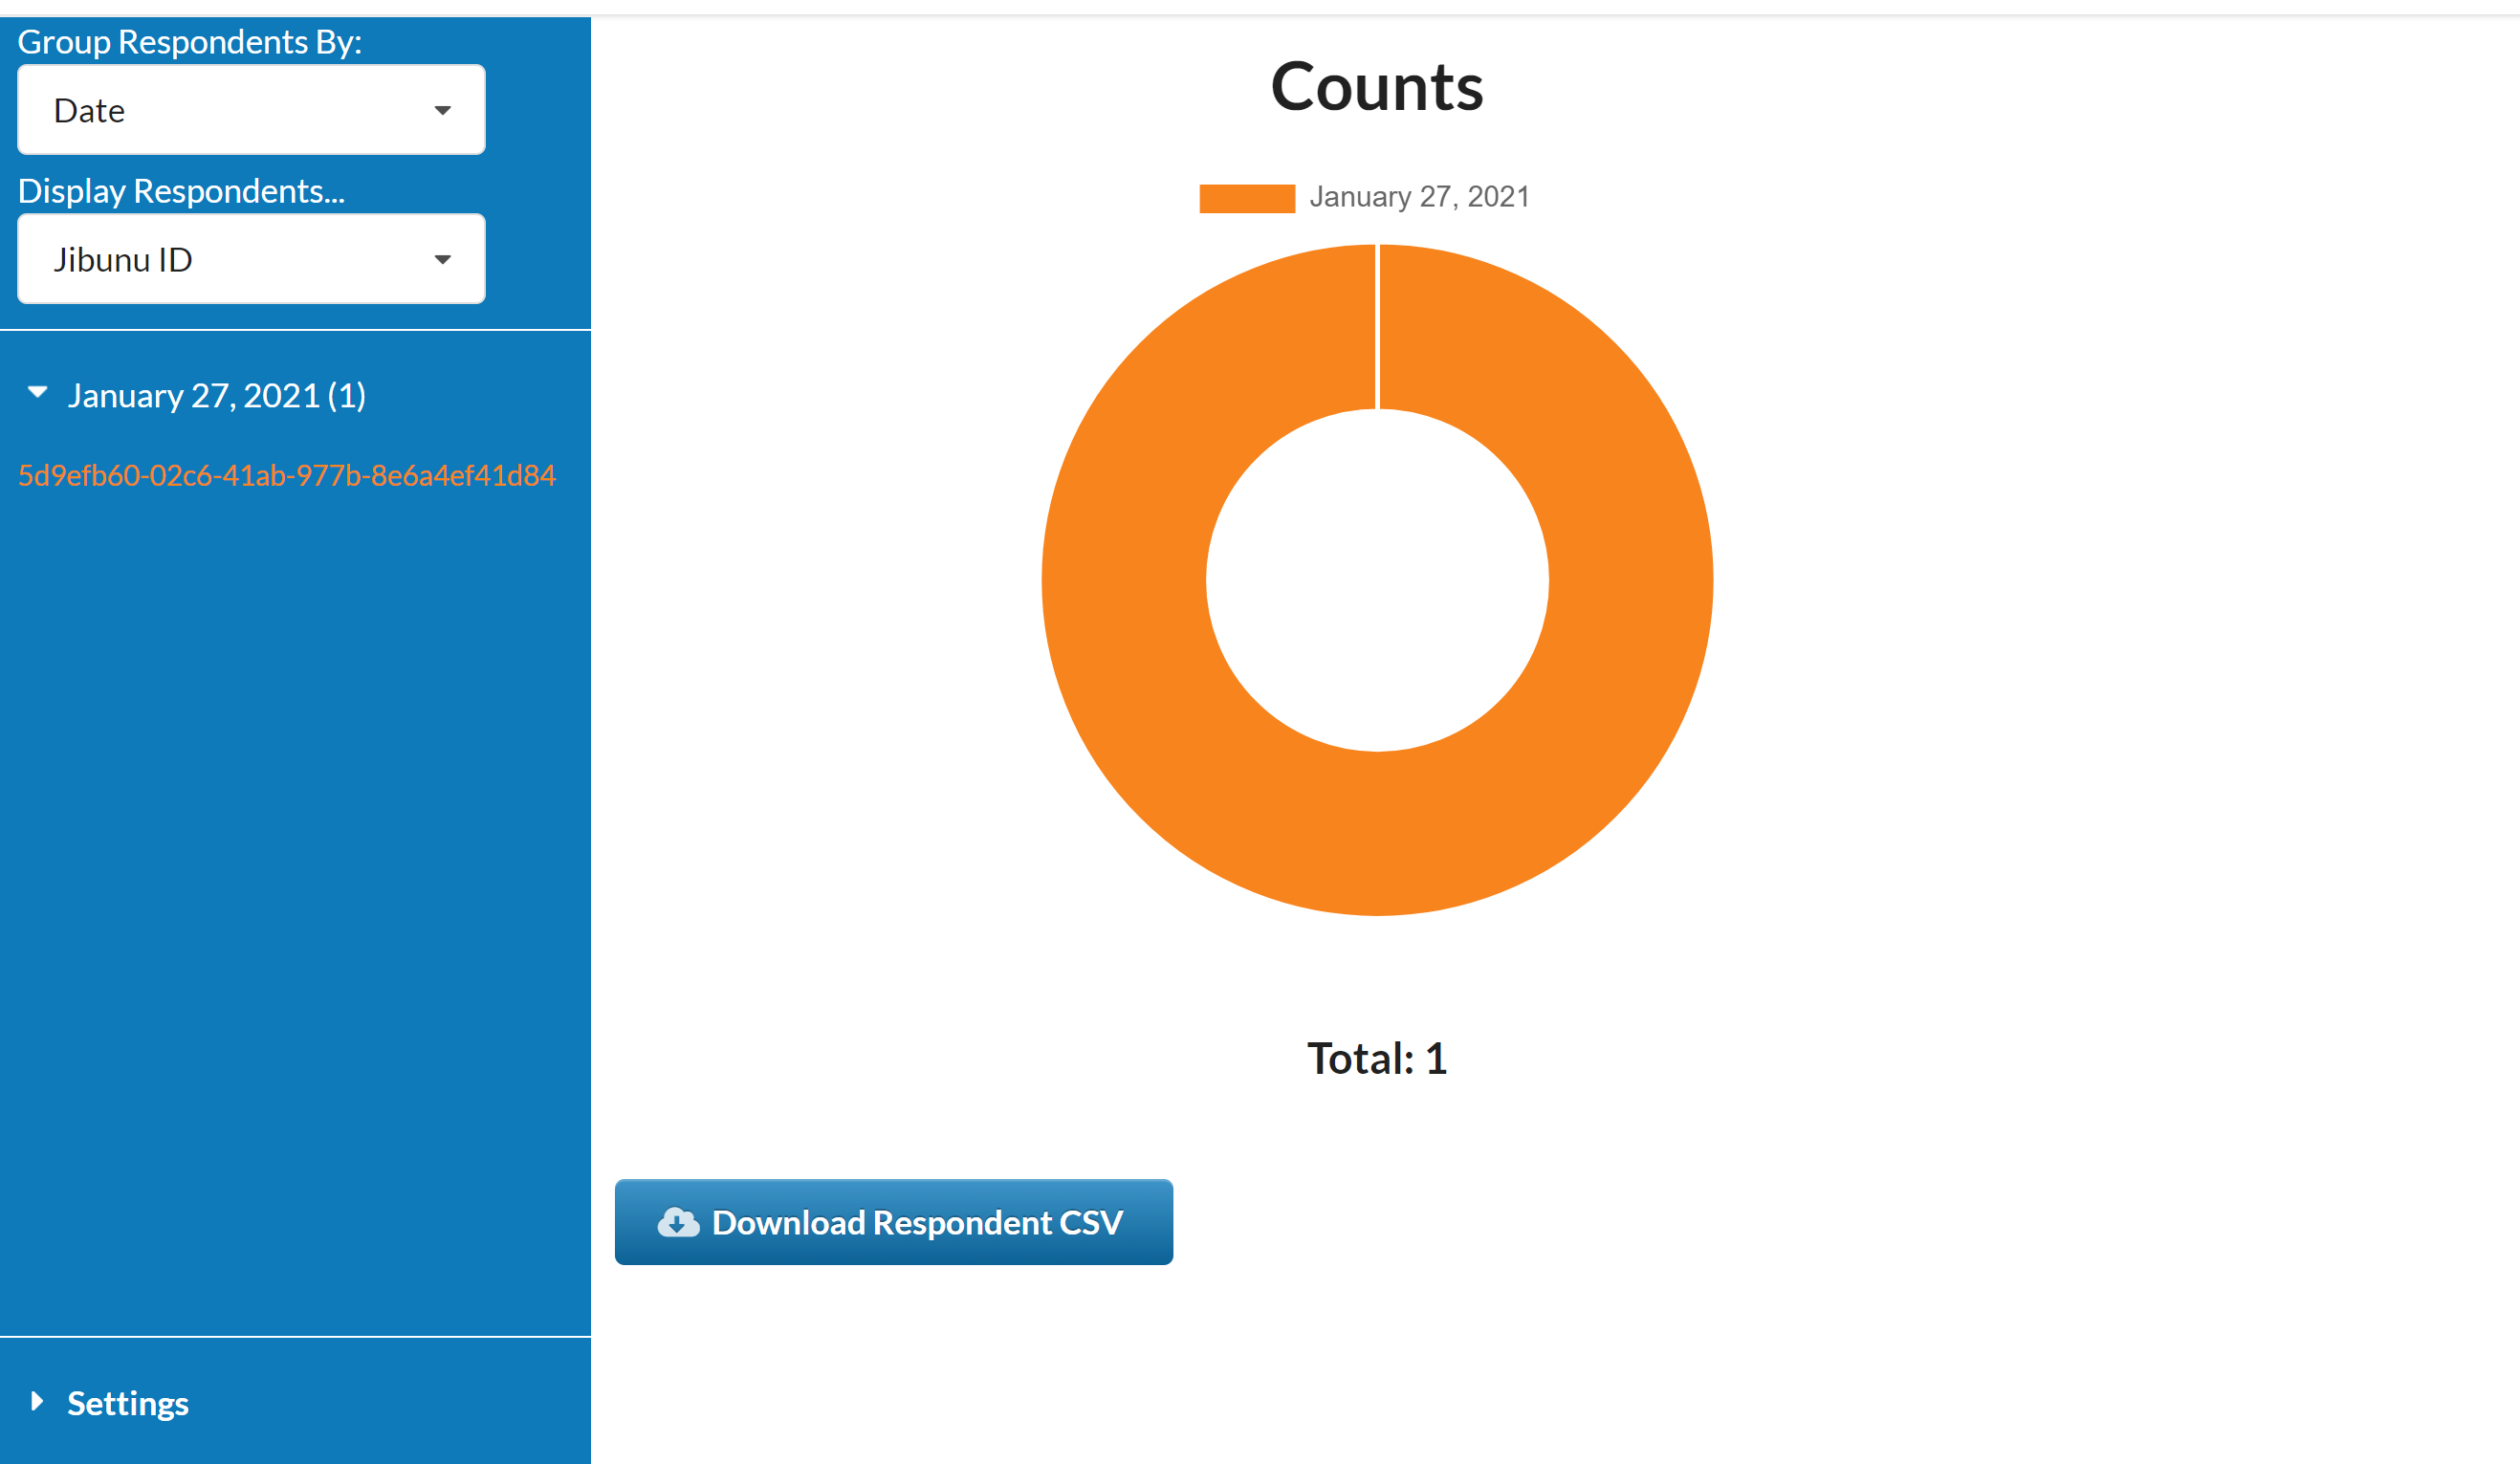
On this page, you can filter by grouping respondents and displaying respondents. By default, the videos will be shown by date.
![]()
On this page, you can also download the transcripts from the videos in a CSV.
![]()
If you want to see a video that was uploaded, select the respondent ID on the left side of the screen.
![]()
On this page, you can play the video and you have the option to download the video. You can also see the transcript of the video.
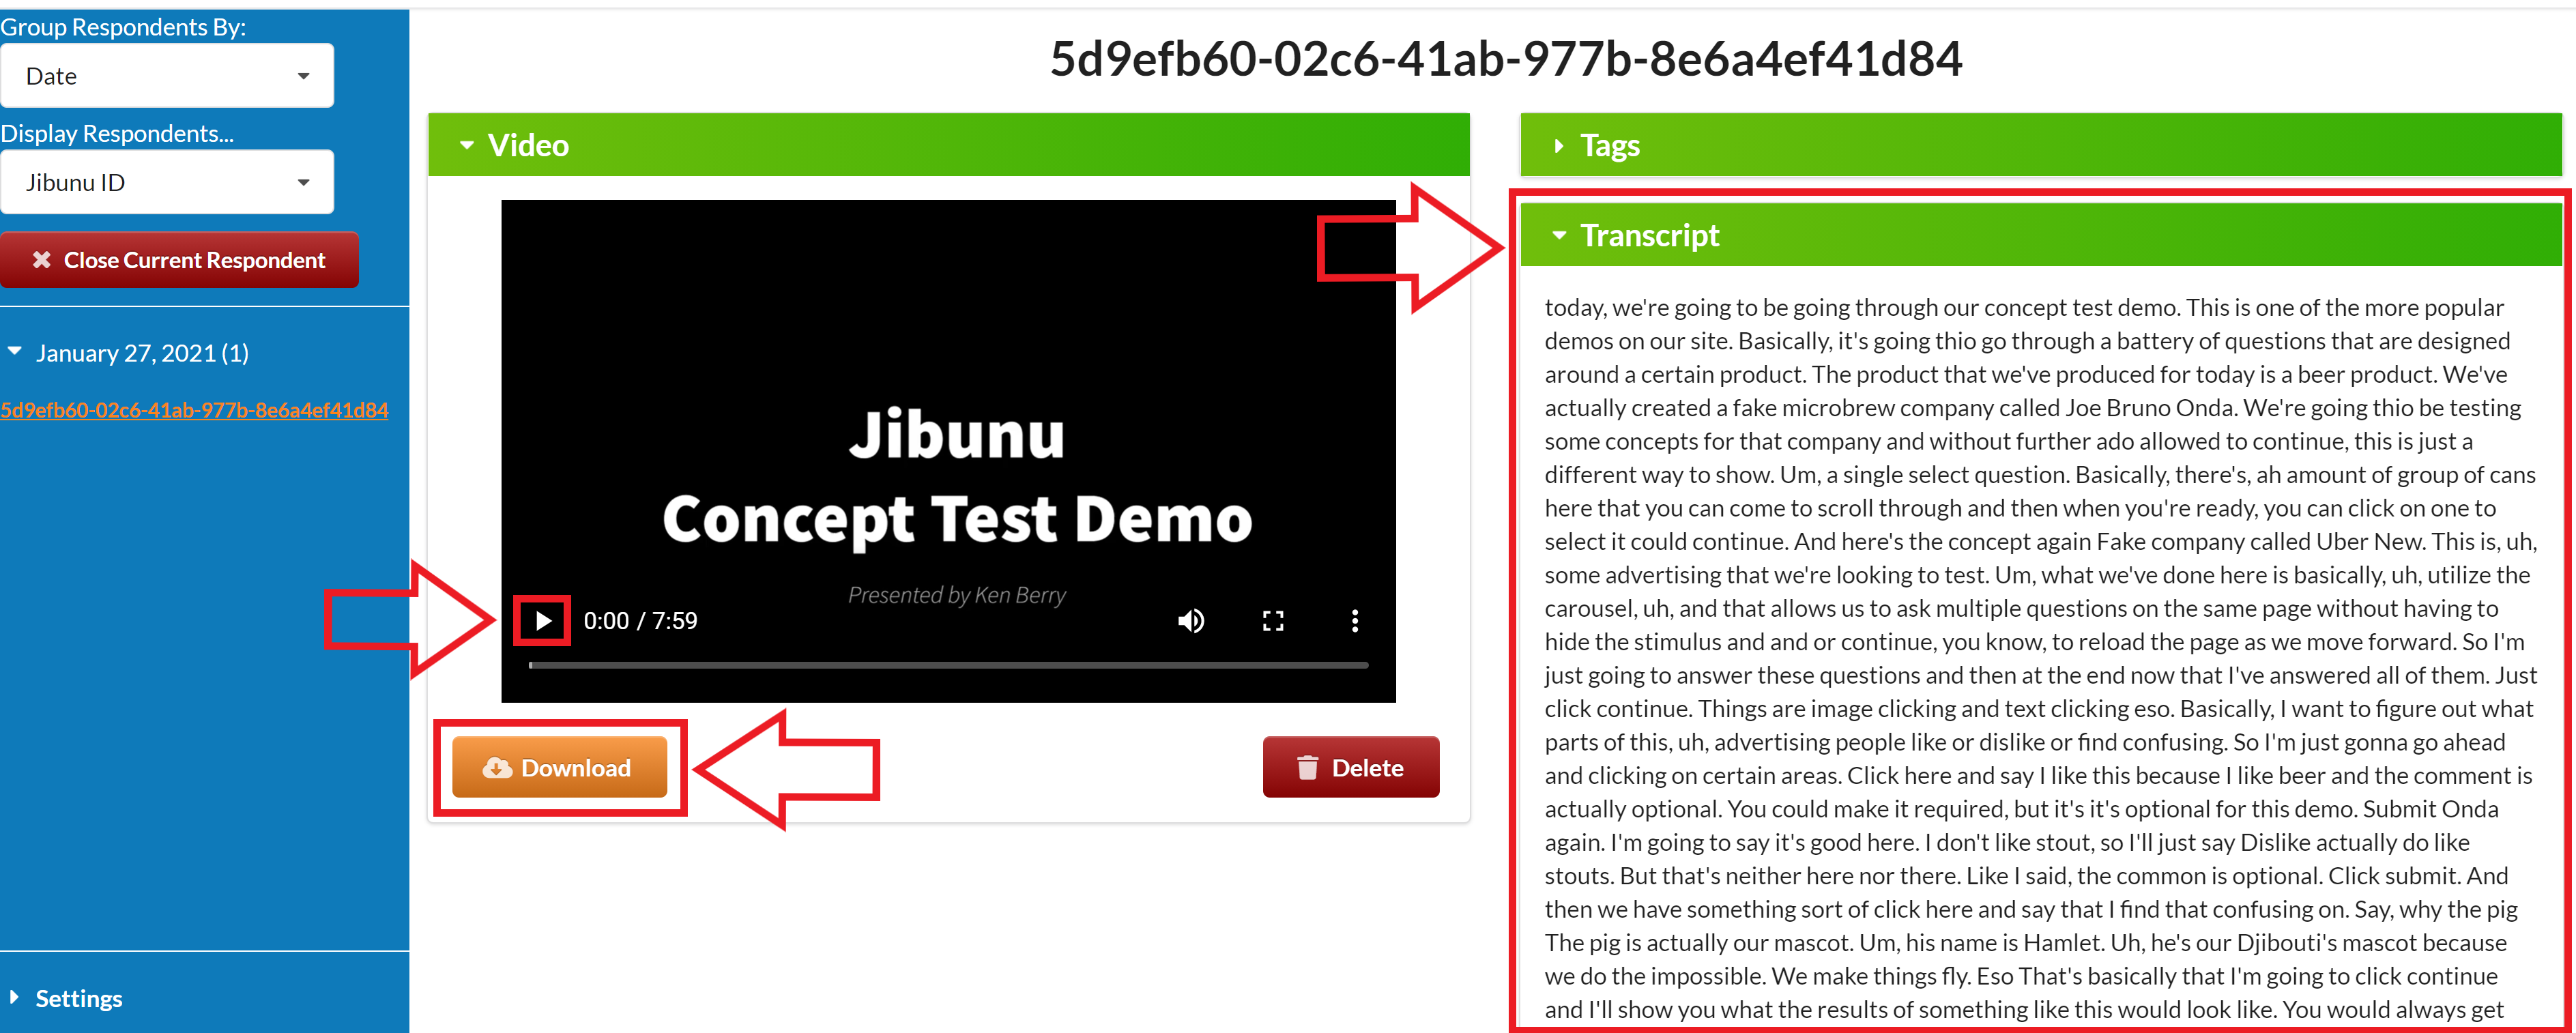
The video is automatically transcribed and this is the text that appears in the transcript. The video takes a few minutes to generate once the respondent completes the question. The transcript is automatic so it’s not going to be exact so some of the text may be off from what is included in the video. There is an edit button included at the bottom of the transcript that you can select if you would like to make edits to the text.
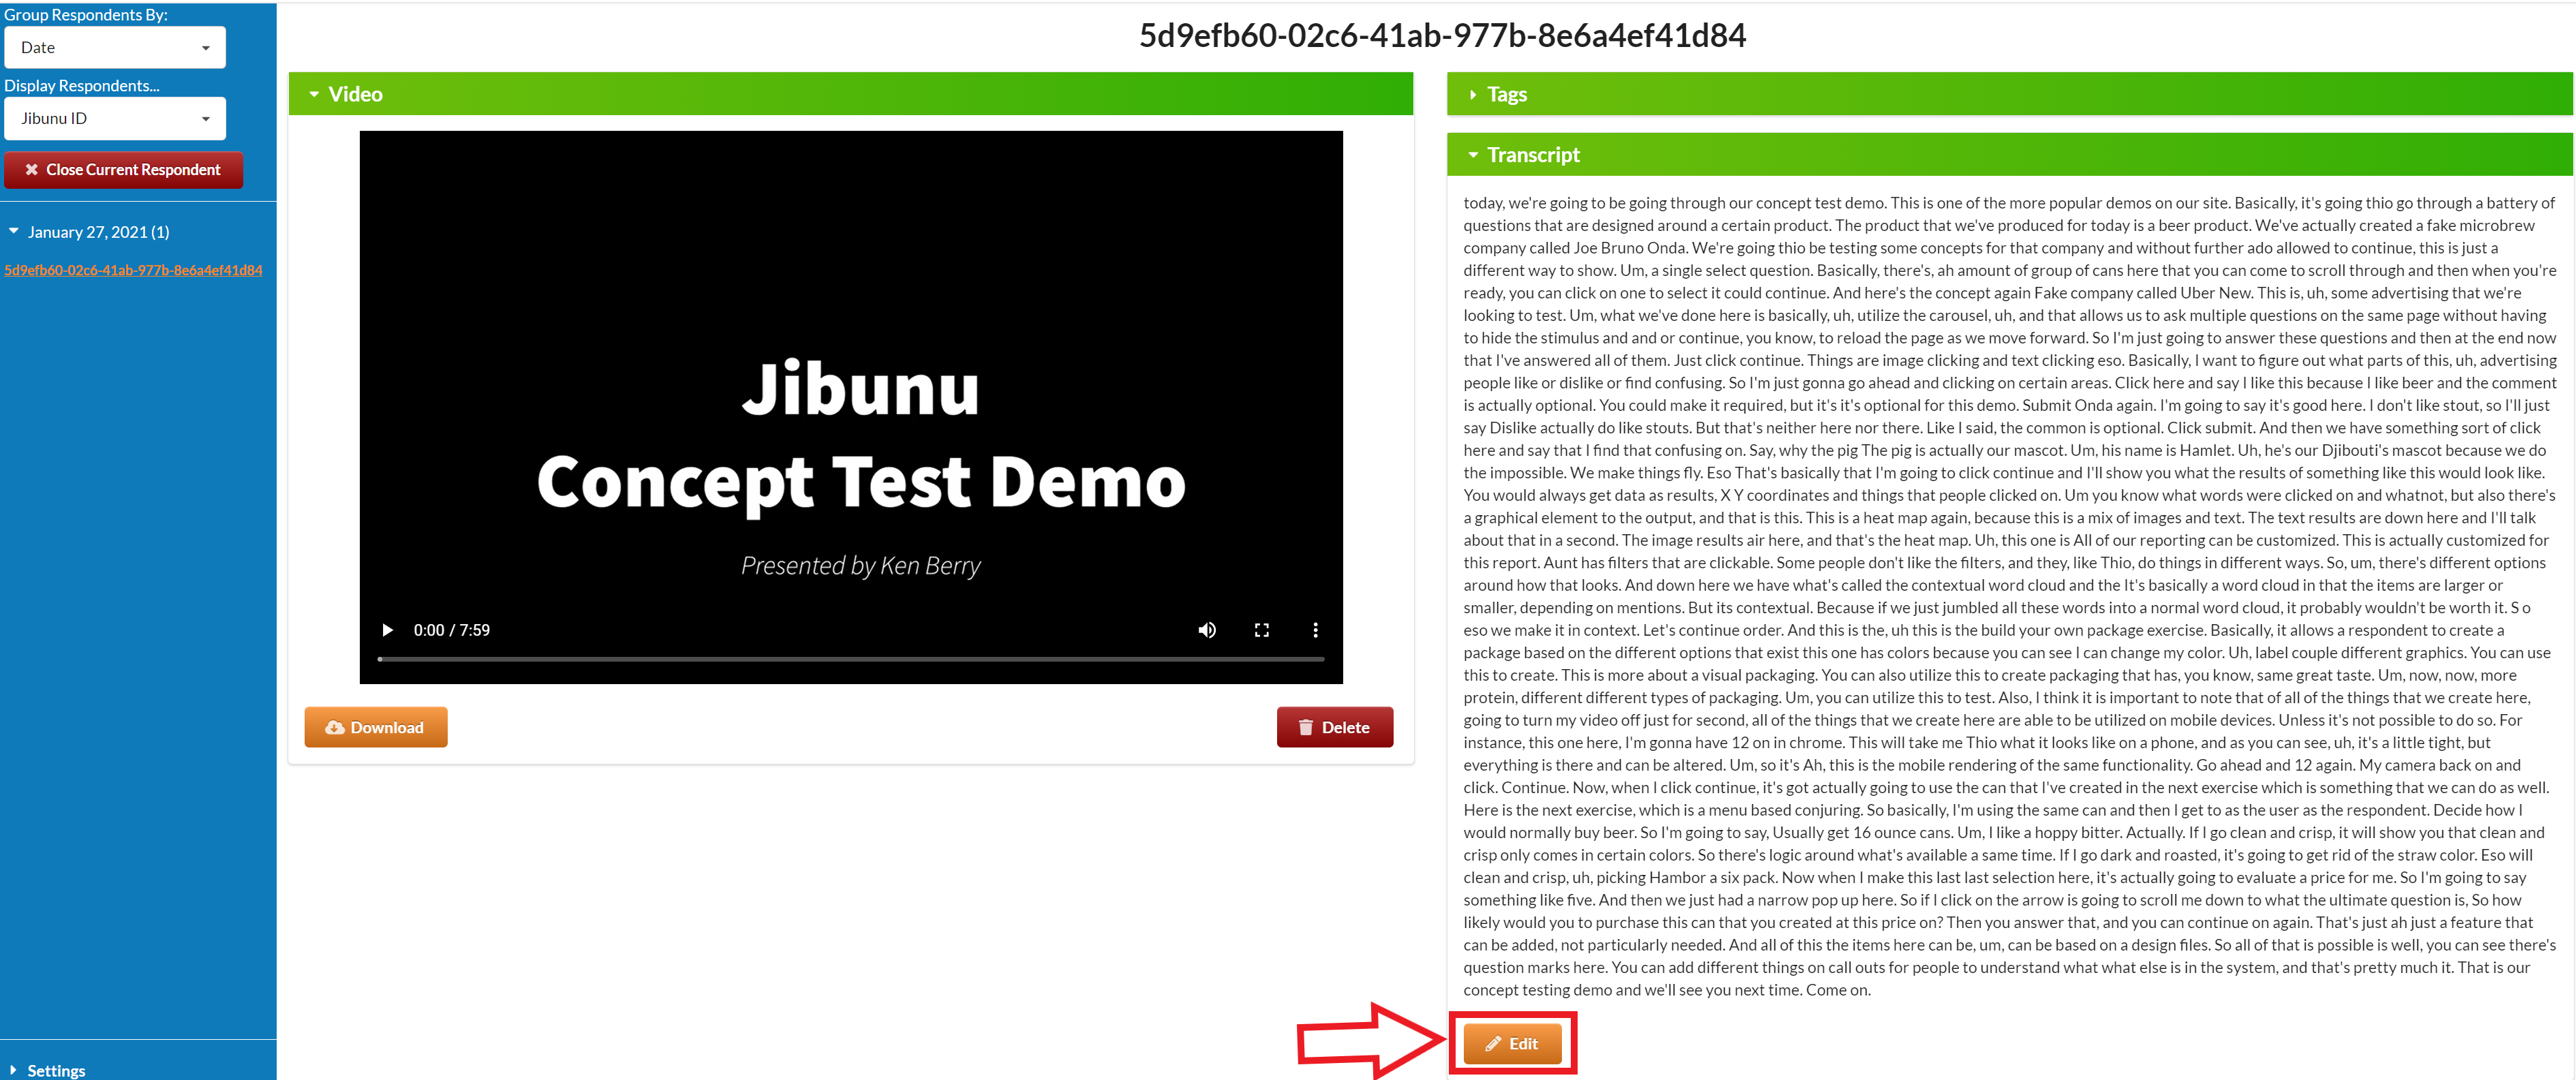
The transcript will then become editable. The transcript box will shrink when it becomes editable. This can be expanded by selecting the bottom corner and pull it down. Once the box is large enough, you can make any edits you would like to the text within the transcript.
![]()
Once you are done editing the text, you can select the save button on the bottom right.
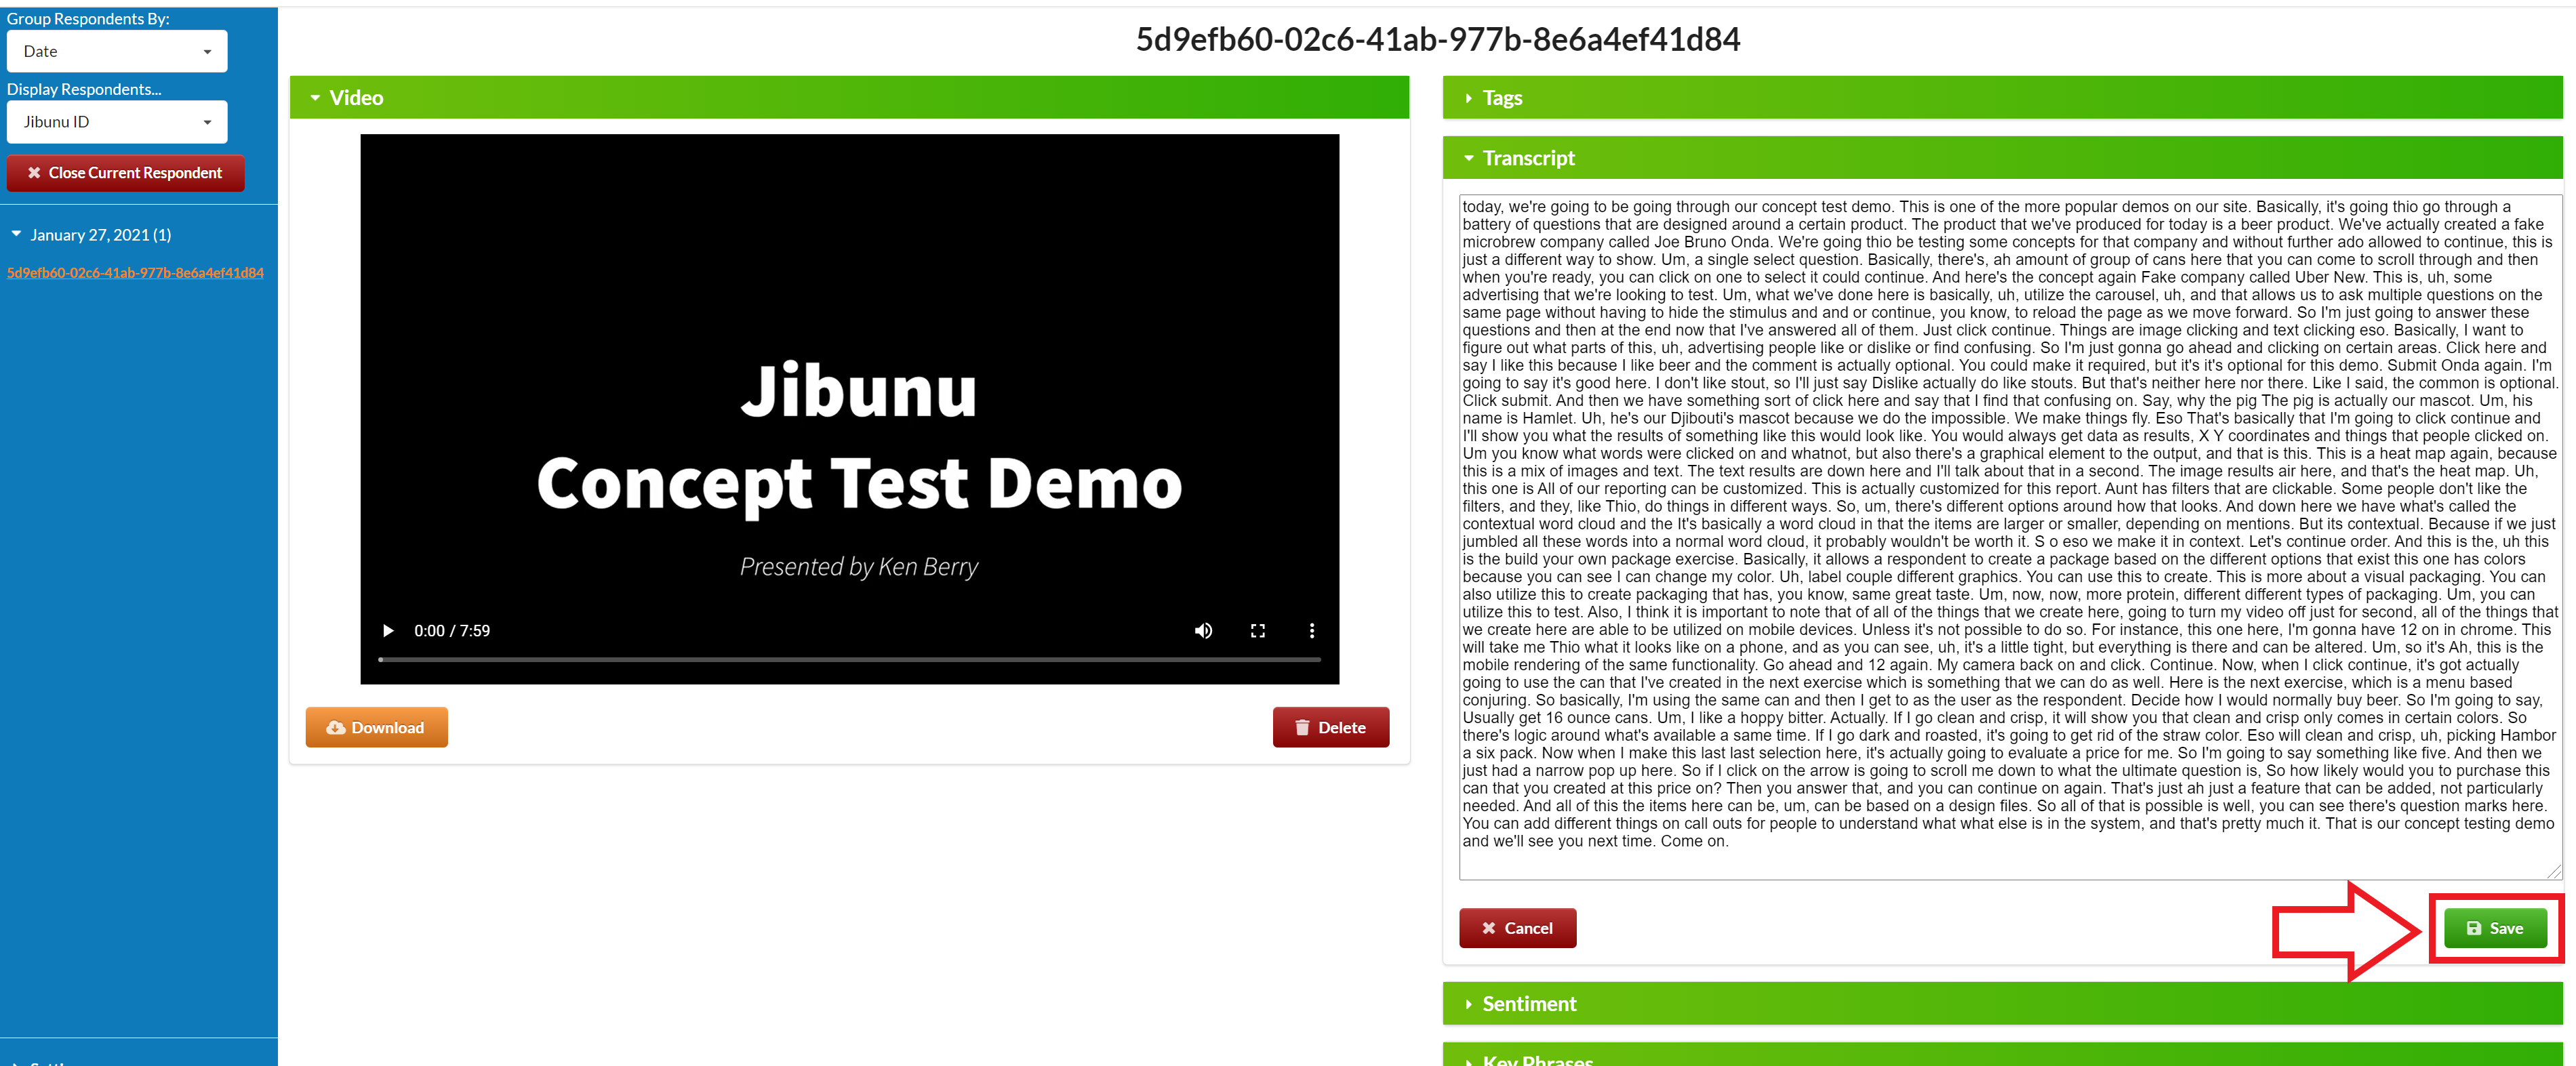
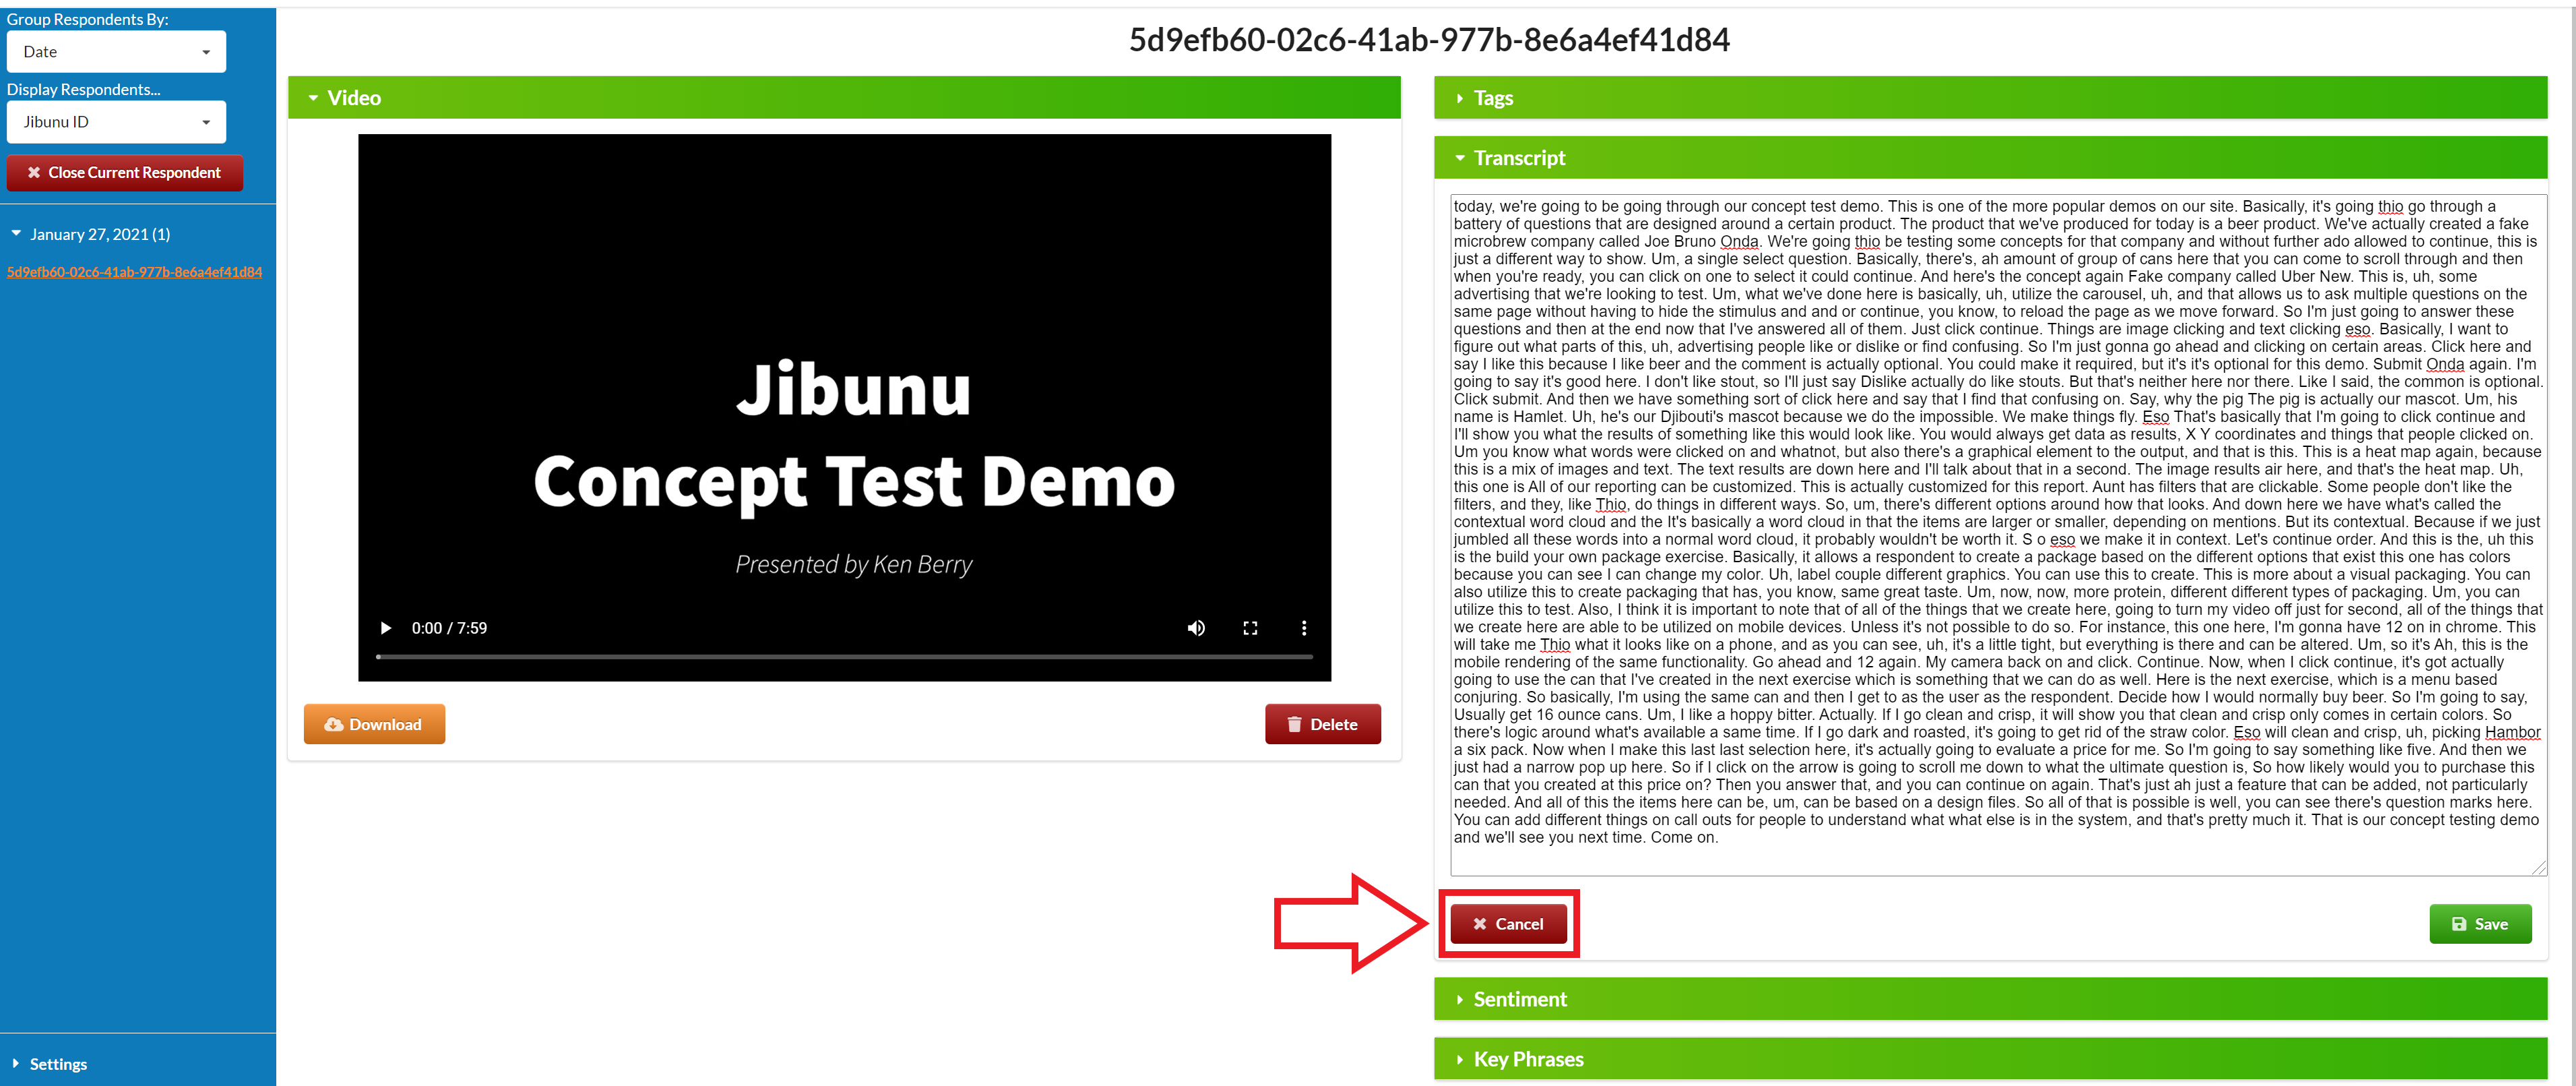
If you don’t like your edits or you want to cancel at any point you can do that as well.
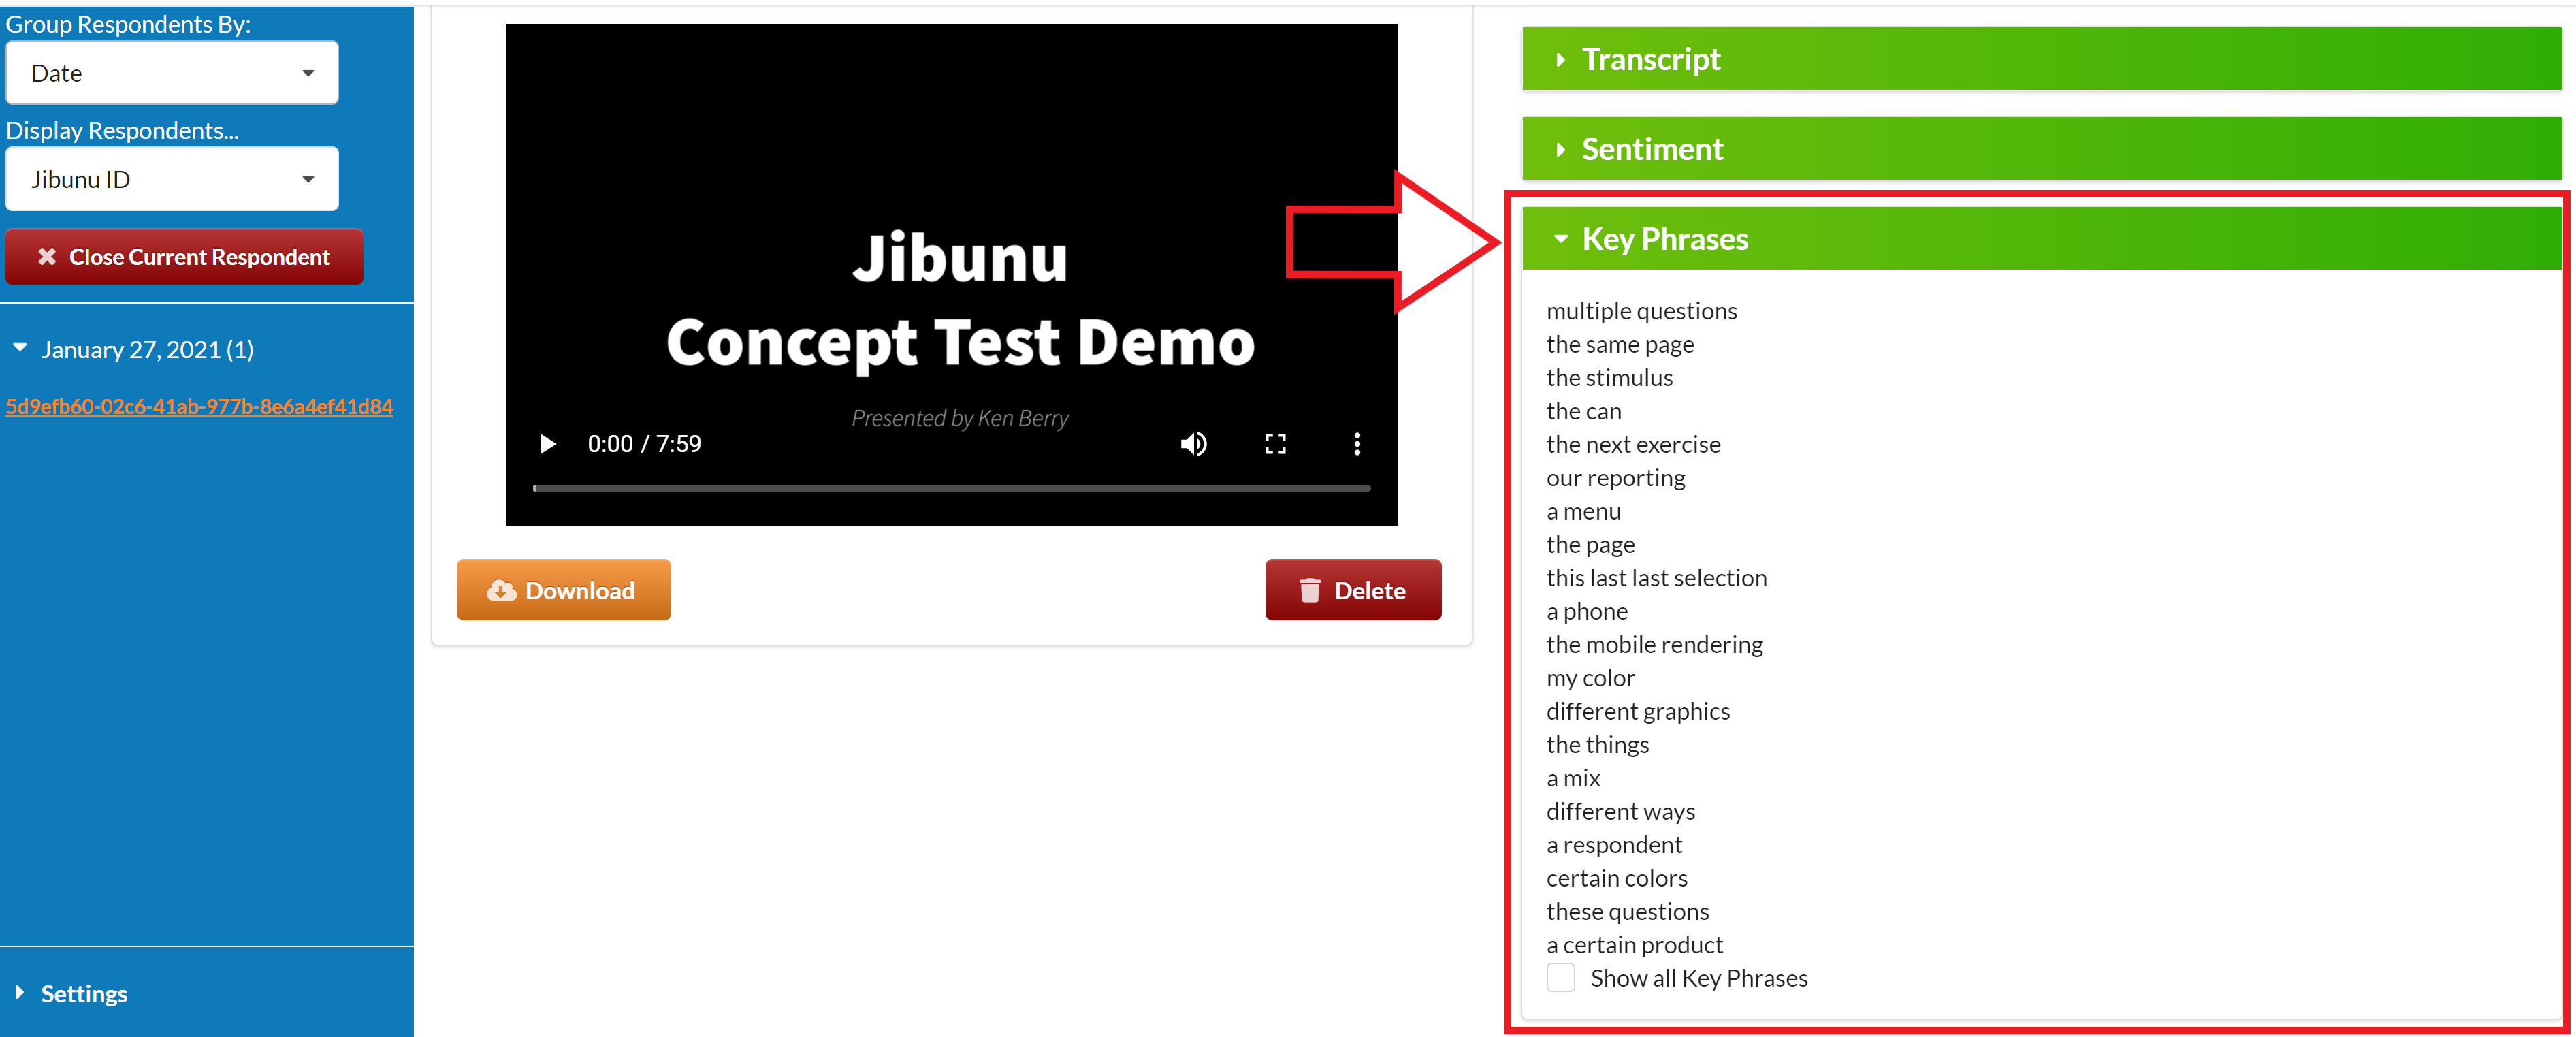
Under the transcript, you can see the sentiment.
![]()
Under sentiment, you can see a handful of key phrases from the video. If you select “Show all Key Phrases”, then it will show all Key phrases from the video.
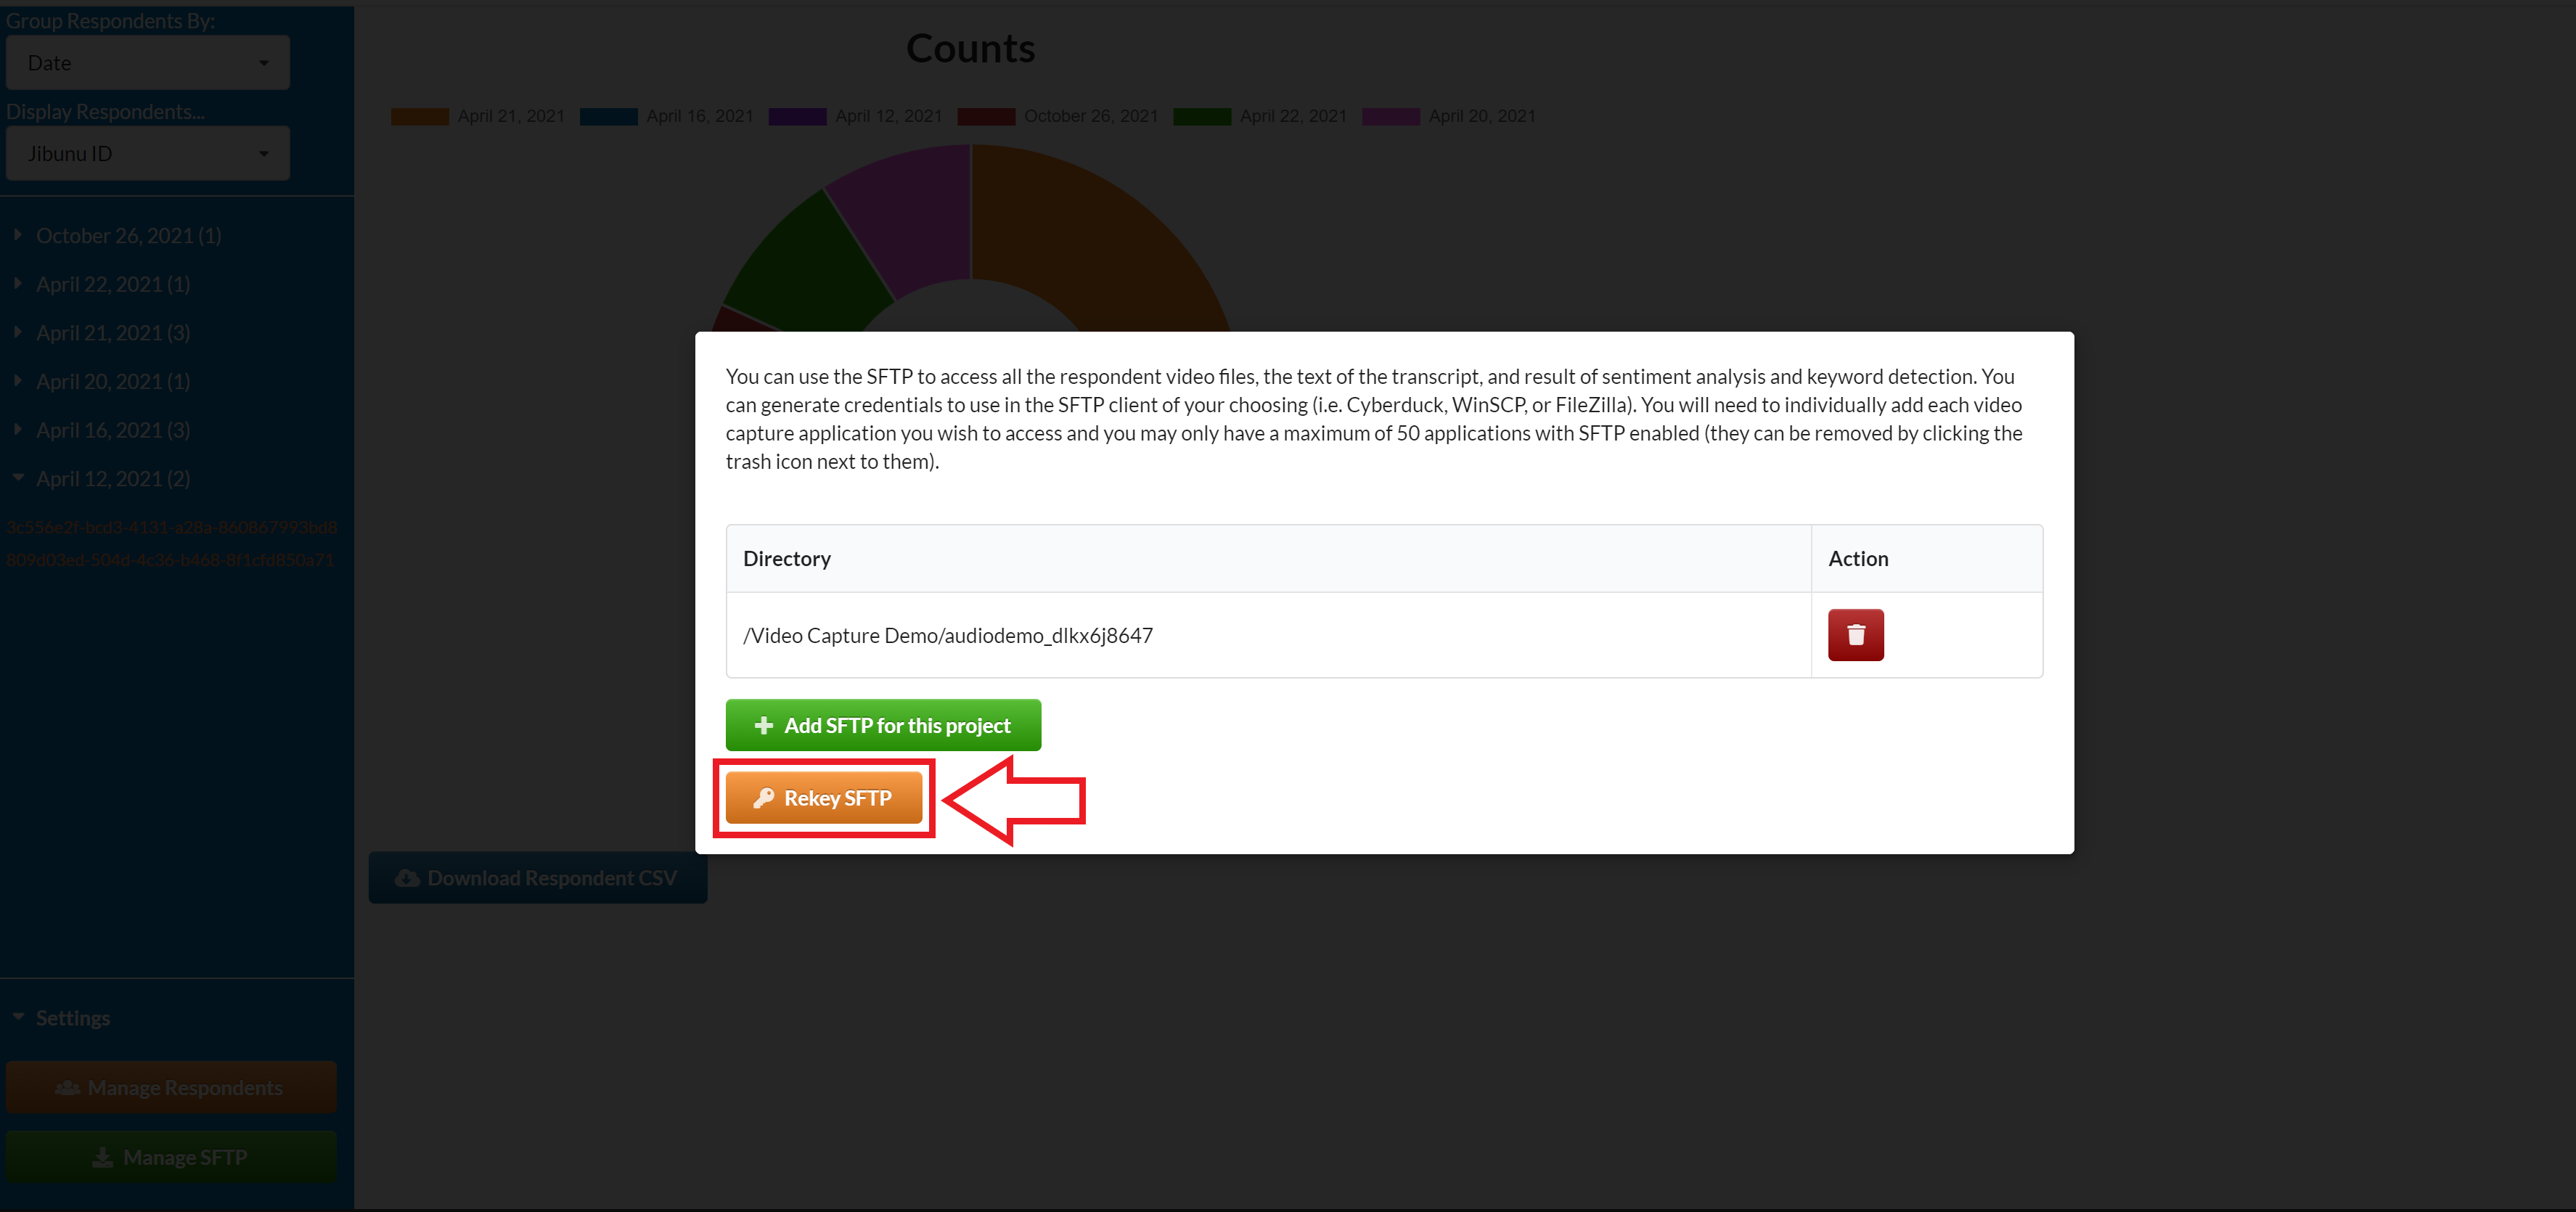
In addition, we have also included an option to generate credentials so if you prefer to use SFTP to access the video files, the text of the transcript, result of sentiment analysis and keyword detection you have that option. You can generate credentials to use in the SFTP client of your choosing (i.e. Cyberduck, WinSCP, or FileZilla).
In the application, select Settings at the bottom left side of the screen.
![]()
Then select the green Manage SFTP button.
![]()
A popup will appear on the screen.
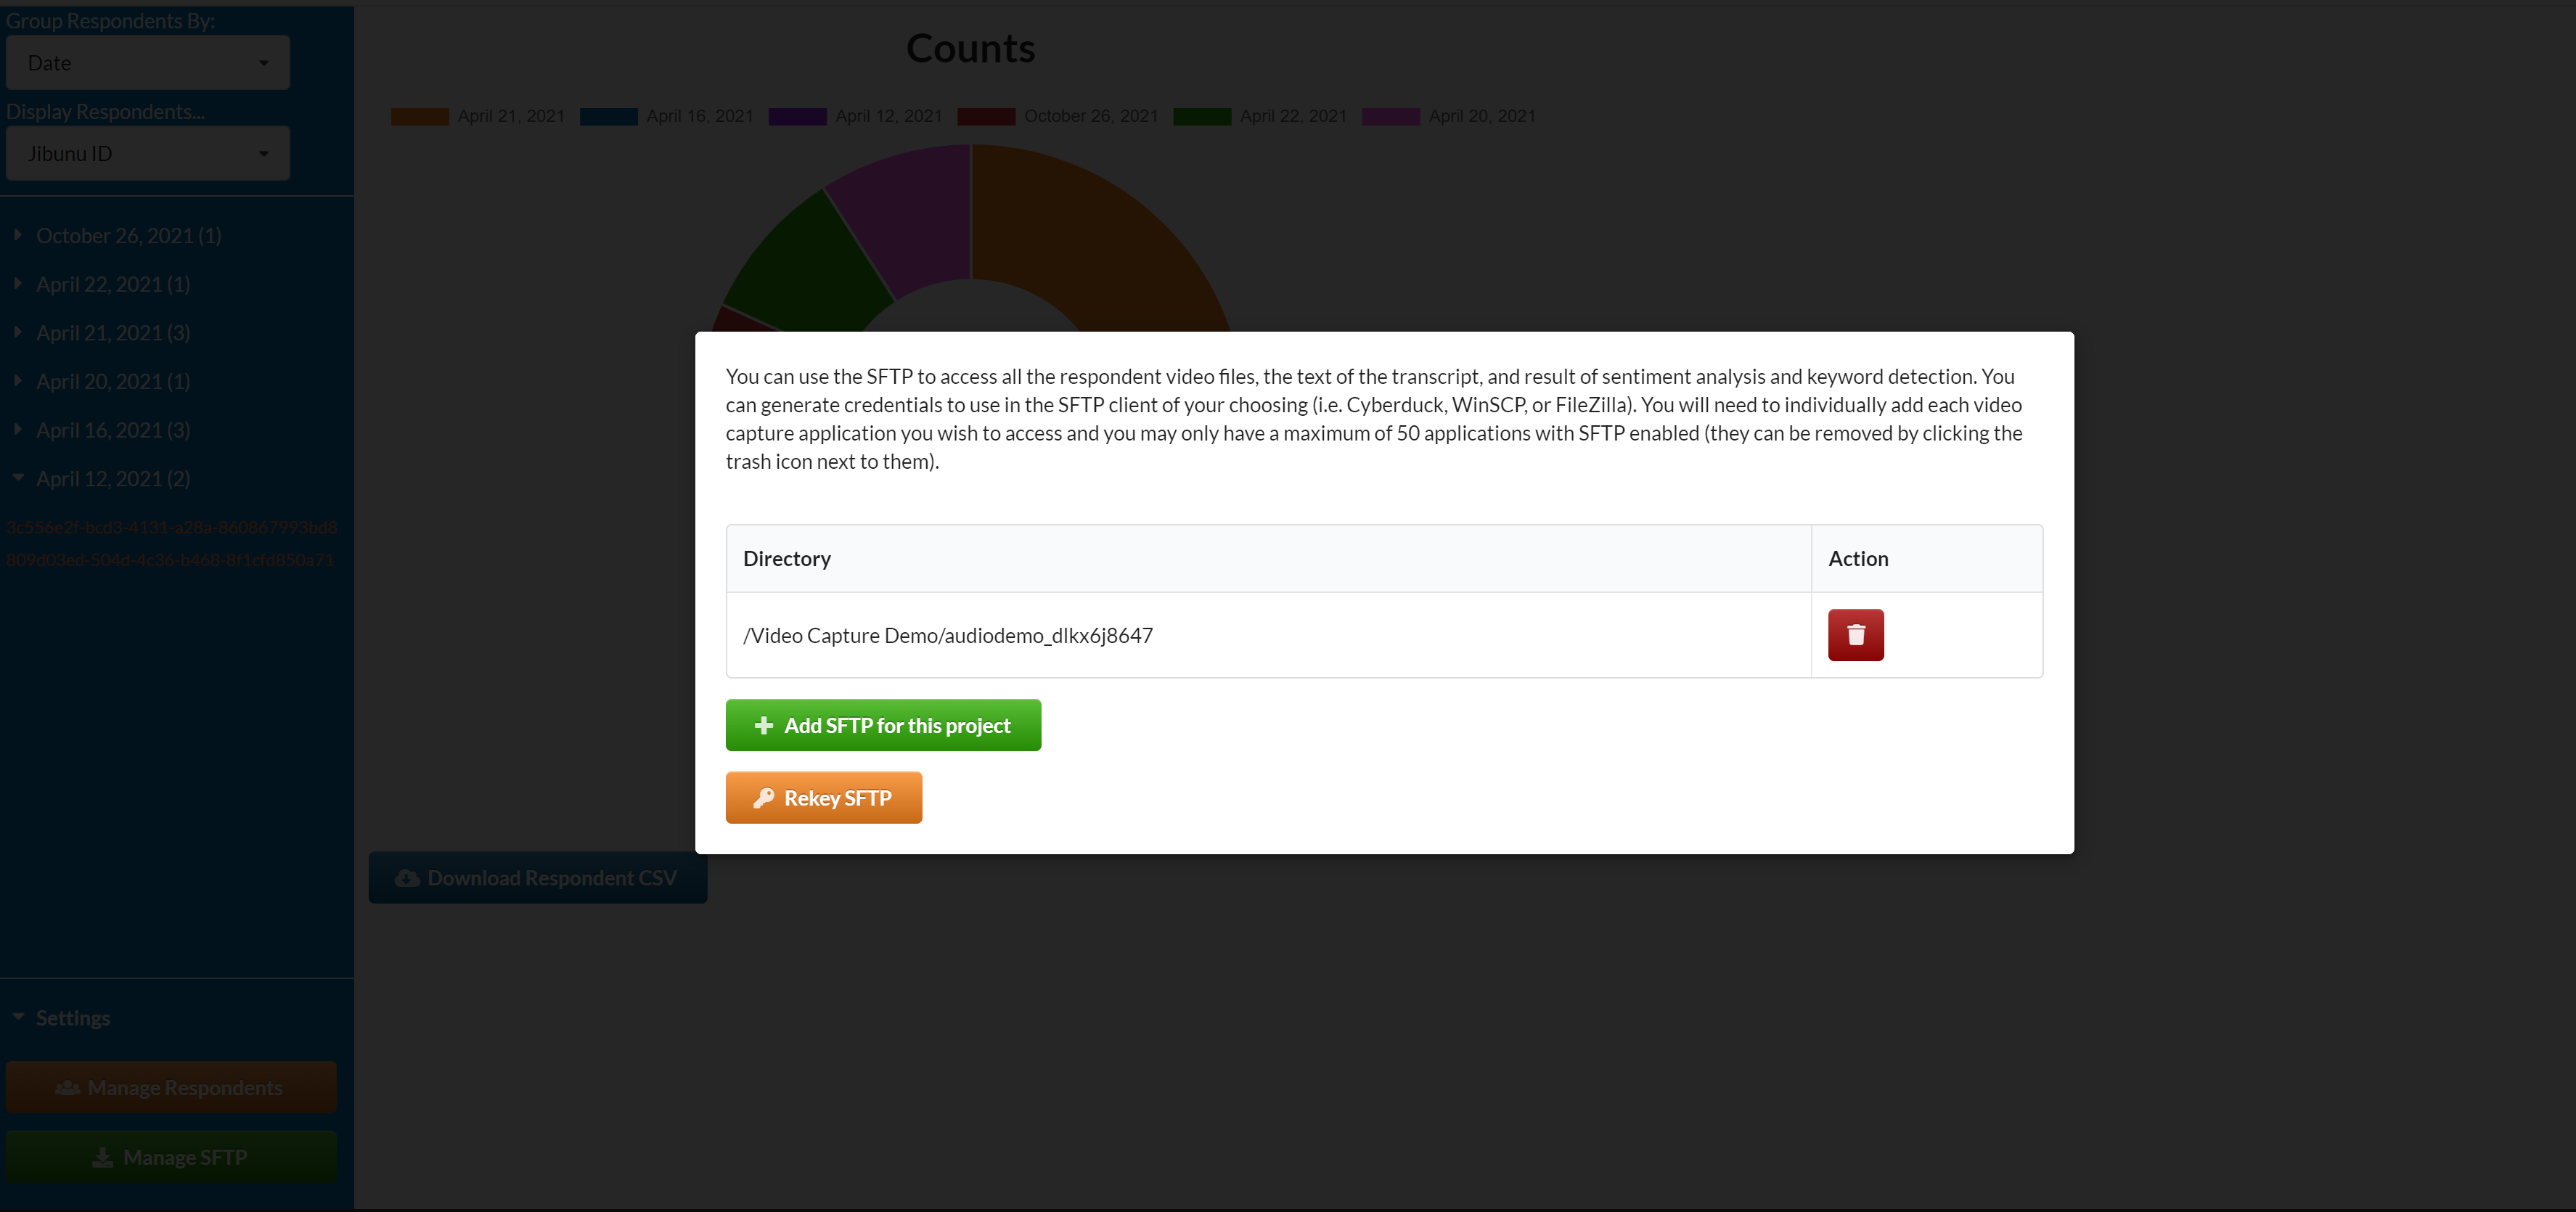
If you select the orange button Rekey SFTP this will generate your login credentials that can be used to setup the SFTP for the video uploads. Make sure to save those so you have them. The credentials will only be displayed one time and if you need them again, you will need to regenerate credentials.
Once you have the credentials you will be able to set these up in the SFTP of your choosing.