The Text Editor tool, available on most of our surveys, allows you to quickly make simple text changes within the survey.
Please note that when you save your changes they will immediately be pushed to the live site. We advise that you test your changes after making them. Jibunu will not be responsible for any issues, errors, or costs associated with your changes. Please note that text changes may also alter your data layout. If your study is live or your data team has an older layout, please make sure to notify your data-analysis team of these changes. It is also important that the survey document be updated to reflect any text changes, otherwise they have the potential to be inadvertently reverted.
Text Editor Access
The Text Editor can be accessed on the main project page in JUMP or when using the test link. To access the Text Editor from the main project page, select the pencil icon.

To access the Text Editor when using the test link, first enter the survey from the test link. Then click the blue arrow at the top of the survey screen, and select the Text Editor tab. You must be logged in to JUMP in order to use the Text Editor. If you are not already logged in, select the “Login to JUMP” button, and you will be prompted to log in to your JUMP account.

Options for Editing
If you are accessing the text editor from the test link and you are properly logged in to JUMP, you will have two edit options: Page Edit and Full Survey Edit.

If you select the “Page Edit” option, it will pop up a window to the Text Editor for the current page so that you can quickly make edits while testing.
If you select the “Full Survey Edit” option, or if you select the Text Editor from the main project page, it will expand to the full Text Editor tool. It will start on the Welcome page, which includes helpful instructions and information for your reference.

In the Text Editor tool, there is a side menu that has “Global Edits” and “Page Edits”.
Global Edits will include the Full Survey Text and global items like Error Messages, Lists, etc.
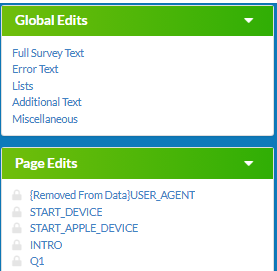
If you select “Full Survey Text”, it will bring you to a scrollable page which displays the full survey. You can then select which question you want to edit.
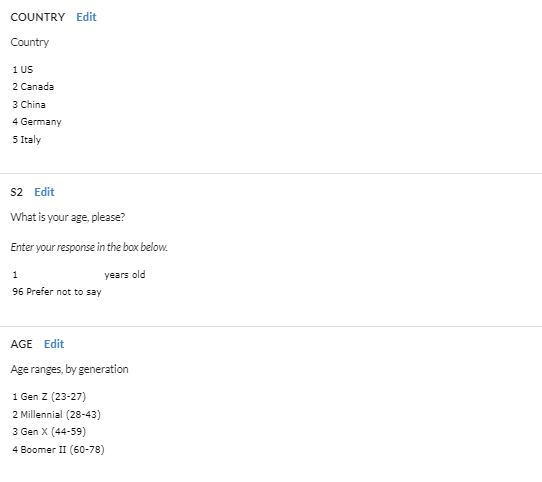
Page Edits will list each page in the survey by their question label. When one is selected, it will bring you to that page to make the edits.
There may be items that are not editable from the Text Editor. Please reach out to your project manager for any changes that are needed to those items.
Making Survey Edits
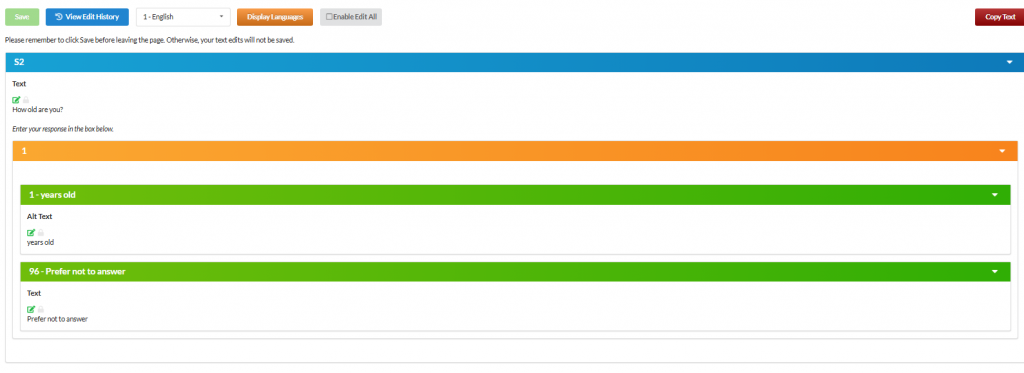
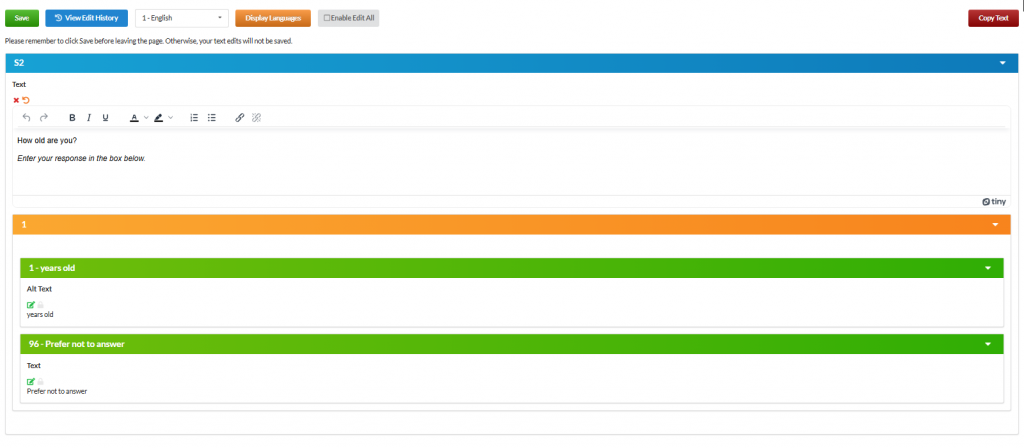
Once you are on the question you would like to edit, click the pencil icon, and an edit box will open. If there are multiple items on the page, you can click the pencil icon on more than one item to open multiple edit boxes.
To edit multiple items without having to click the pencil icon each time, at the top of the page, there is a grey button “Enable Edit All”. When clicked, this will open all edit boxes in the survey. The button color will change to purple, the box will be checked to indicate Edit All mode is enabled, and the button text will change to, “Disable Edit All”.
“Edit All” mode will remain enabled even when switching between questions, until you click the button again to Disable Edit All mode. When it is disabled, the button will change back to its initial grey state.
Once you have finished making the desired text edits to a page, click the green “Save” button on the top left. Please be sure to click Save before leaving the page, or your text edits will be lost, and you will need to reenter them.
Text in Programming Variables
Some questions will have different versions of text that can show depending on path, country, etc. This type of text will be inside of programming variables and will appear in the edit boxes inside of programming brackets “[ ]”, highlighted, and will have additional text indicating whether it is editable or not. If you would like to make changes to text inside a programming block that is indicated as not editable, please reach out to your project manager with an updated document that reflects the changes you would like to make.
If the block indicates that it is editable, click on the highlighted block. This will open another edit window which will include edit boxes for the different versions of text for that variable. You can then make the desired changes to the text.
Once you are done making changes, when you close that window, your edits will be reflected in the highlighted programming block. Make sure to click “Save”, before exiting that page.
Undoing changes
Once you make a change, an orange “Undo” icon will appear above the edit box. This will allow you to undo all the edits made in that box, if needed. This is not a universal “Undo”, so if you edited multiple boxes on a page that need to be undone, you will have to select the undo icon for each box.
Please note that after you save a change, you will no longer be able to undo it.
Edit History
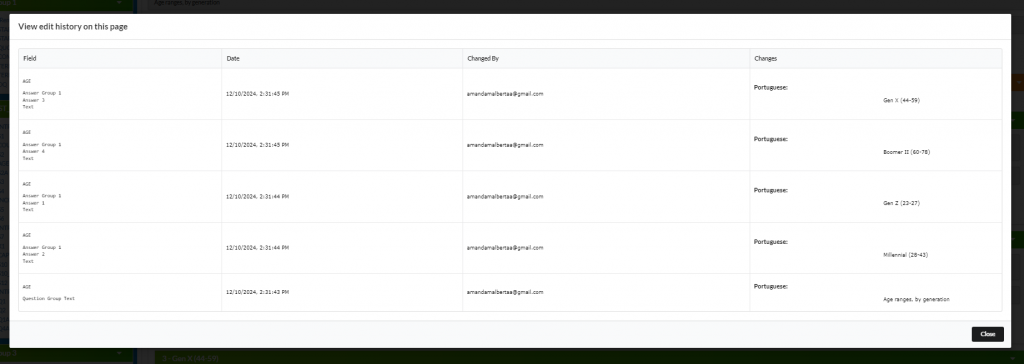
There is a blue “View Edit History” button at the top of the page. This will allow you to view the history for the question you are on. It will display the:
Field: This includes the question number and which text field was updated (such as question text, an answer group, etc.).
Date: The date and time of the change.
Changed By: This will include the email of the person who made the change.
Changes (box 1, prior text): This is the question with the prior text before the change(s).
Changes (box 2, updated text): This is the updated text with the change(s) applied.
If a change was mistakenly Saved that needs to be reverted, the View Edit History can be used to reference the original text. You can then go back to the edit box and update the text accordingly.
Multiple Languages and the Text Editor
If your survey has multiple languages, once the overlays have been implemented, you will be able to make text edits to those languages from the Text Editor. If you have any questions on the initial overly process, please refer to our Overlay Infohub article for more information.
Text changes can be made to the languages from the test link as mentioned above, or from the Text Editor when selecting “Full Survey Edit” from the test link or by selecting the Text Editor from the main project page.
Selecting Languages in the Text Editor
Global Edits
For “Full Survey Text”, there is a language dropdown at the top of the page which shows “English” by default. Click on this dropdown and select the languages you would like to show on the Full Survey Text page. The languages will be shown side by side. Please note that the language overlay must be implemented before it will appear in the dropdown. You can then select which question you want to edit for any of the languages on this page.

Page Edits
Once you select a question from here and are on the edits page, at the top of the page, there is a language dropdown. This will show the language you are currently editing.
You can use this dropdown to switch back and forth between the language you are making text changes to for that question. Please note that only one language can be edited at a time, and you will need to save any text changes to the language you are on before switching to another.
Making Text Edits on Languages
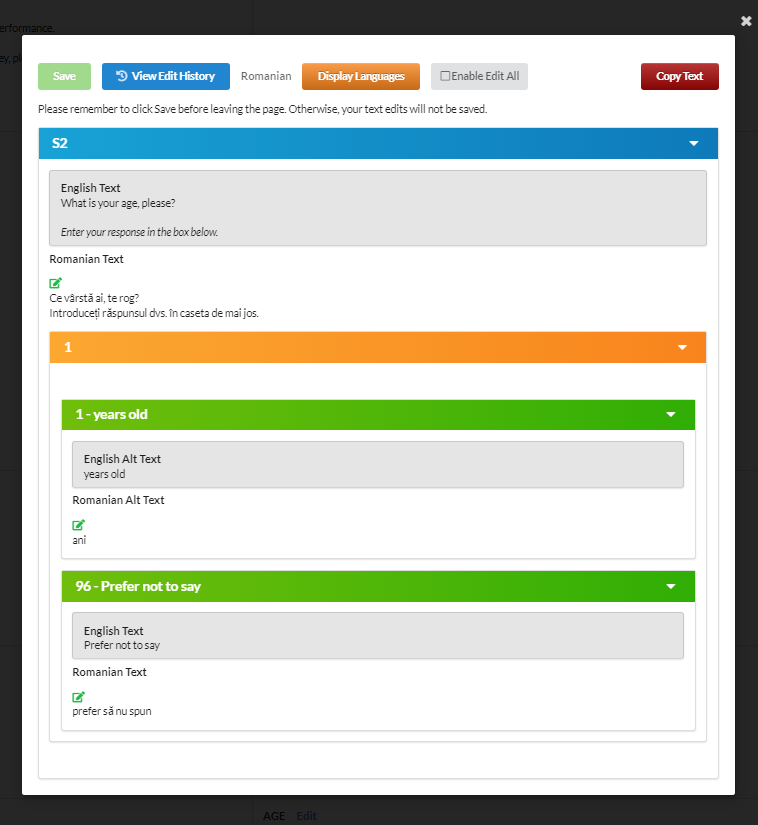
When making text changes for another language, it will pop up a window for that question as it would normally. You would make edits the same way, using the pencil icon or enabling Edit All mode, and then Saving changes when you have completed all text edits for the question.
However, the page will include the English text in a grey box above the Language text. This is so that the English source text is available for reference while editing.
Displaying Languages
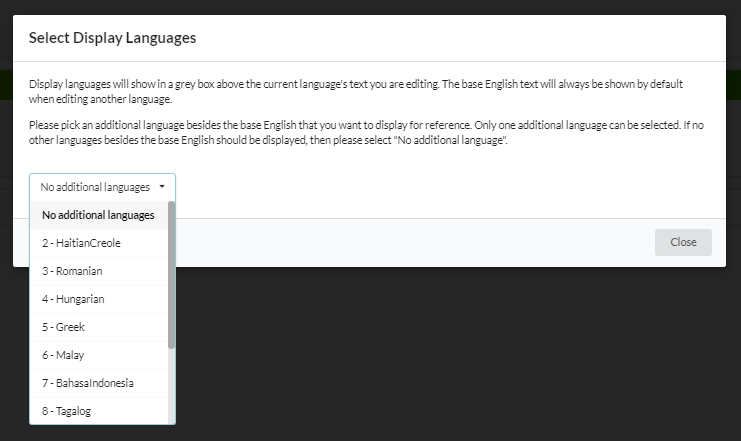
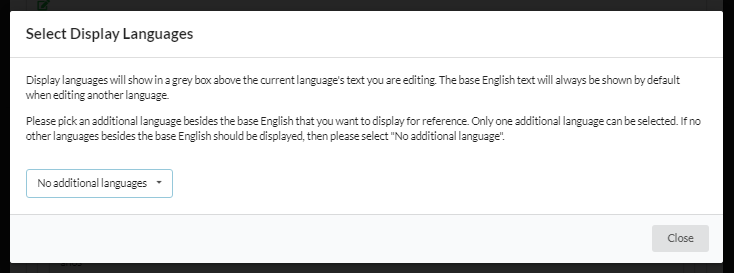
There is also an orange “Display Language” button at the top of the page. This will allow you to select one additional language to display for reference besides English. Please note that the base English will always display by default. Display Language is useful in instances where there are localizations of a language (English, French, German, etc.).
If you selected another language to display and no longer need it, switch the dropdown back to “No additional languages” to remove it.
Copying Text
There is a red “Copy Text” button at the top right of the page. This will allow you to copy/paste text from one language to another. Please note that this will overwrite the text that is currently in the box, if there is any already entered. This will only copy/paste the text for the question you are on and is not a global copy.
When selected, a screen will pop up that includes a dropdown. Select the language you want to copy/paste text from, for the current language you are editing. Once you have selected the language, click “Confirm, Copy Text” and it will appear in that question. You can then adjust the copied text as needed or replace it if you were using it for reference.
Please note that you will need to click “Save” before exiting the page, or the changes will be lost and need to be reentered. If you do not wish to save the changes, you can exit the page or undo the changes.
Editing Text in Variables for Languages
The text in variables will show as normal inside programming brackets “[ ]”, highlighted, and includes additional text as to whether the block is editable or not.
When you click on the variable text that is editable, the page with the variations of text will pop up. However, there will also be grey boxes that display the English Text for reference above the language you are editing.
If you have another language selected to display, that language will also appear above those edit boxes.
Different Ways Text in Variables Display
Depending on the type of “show if” text, the language above the boxes will appear two different ways.
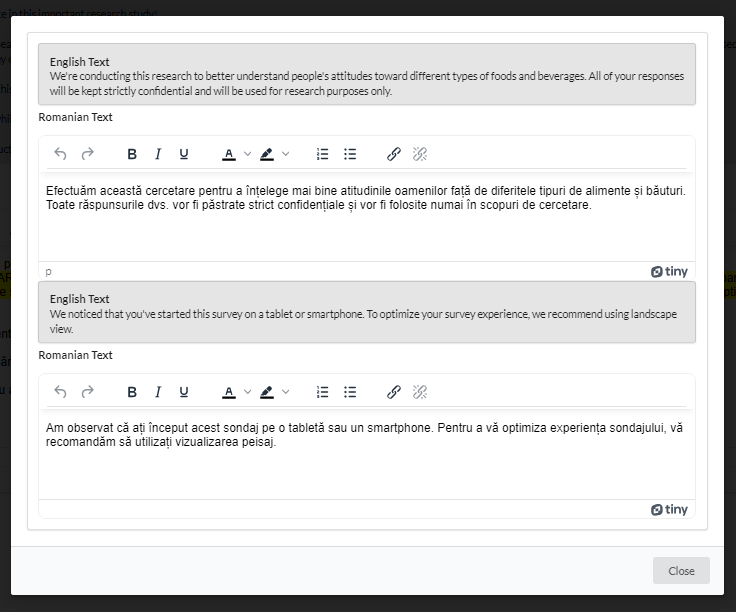
Over each box
A window will appear with the English text above each edit box for reference when making changes to those statements in another language.
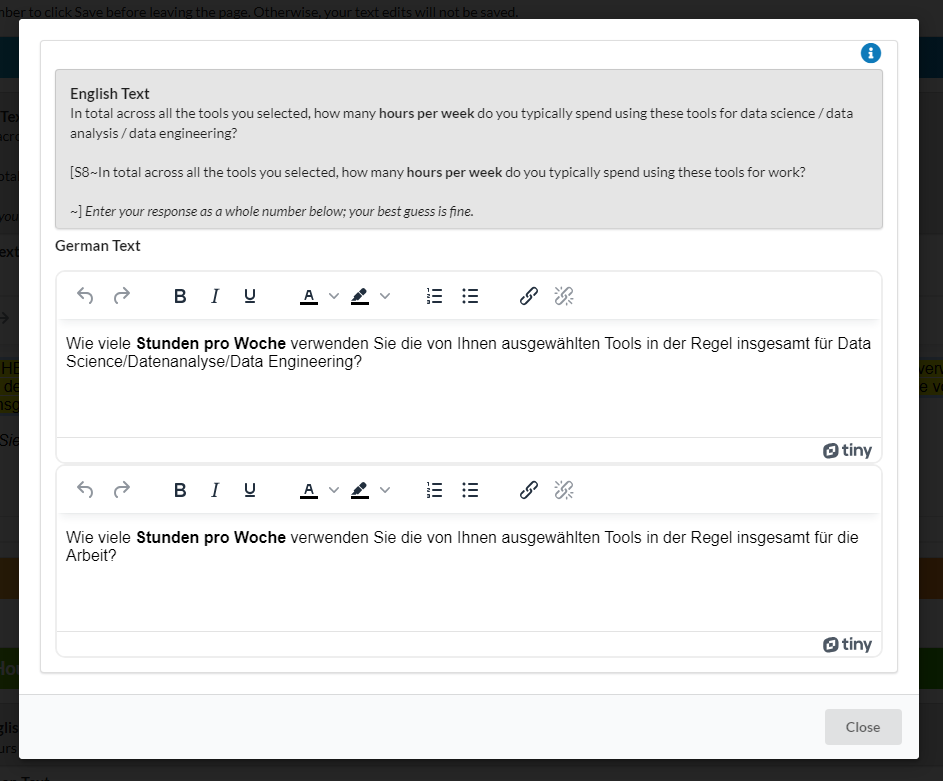
Over all boxes
The English text can also appear at the top, above all the edit boxes. In this case, the text inside the programming brackets “[ ]” and how the statements are broken up, should be referenced while making changes to those statements in another language. The first statement will always go with the first edit box, the second statement will go with the second edit box, etc.
Updated 12/10/2024